So before I get started I just want to say two things, I am not a hair dresser and these ideas only came from pure boredom and the need to resist putting my hair into a pony tail. Also If you don't like messy hair styles and things have to be in their own place.. you might not want to take my advice :).
I have naturally curly hair so I understand that some of you wont get the exact effect of these styles. But I have some advice on what to use to help you get you're hair close to the same texture as mine. You can go to your local Ulta (which is my fav!!) and get either this or this product from a hair salon. I suggest these two products because they have REALLY good reviews on them. The second product was reviewed here by this YouTube guru Sam Schuerman if you don't know who she is you need to go check her out!!
So to get started, I did all these hair styles on air dried hair with only bobby pins and a hair tie. I don't really have a suggested preference on what hair tie to use but just use your favorite.. I applied a leave in conditioner and gel to my hair and then went about my day with my hair down and when it was dry I would style it (want to know what I used?).
So lets get started, I am not going to lie these are pretty easy hair styles because you are reading a blog from a challenged hair person!! So don't get too scared.
My first and favorite :)
Most of all of these will have a bump with your bangs but you don't have to do it if you don't like it.

You're going to start with your hair split into thirds taking a section from the top of your ears on each side going straight back and then separating those into two seconds like the image above shows.

Your then going to want to "twist" them working your way down. I am using the word twist lightly here because what you want to do is similar to a fish tail braid or french braid. You take your two sections, and switch the section in your hands.. Left hand will end up in your right and vice versa. Then what you want to do is take a section from the opposite side (left to right) or (right to left) that is hanging down not already in your hand.. put that with the opposite side like you would do with a fish tail braid. Then twist the hair after you have taken a piece for each side. Repeat this until you are done twisting do not twist your ends.
Sorry this video sucks but it'll help you understand what I'm trying to explain to you. I am not talking in this either so watch carefully!!

Midway through the twisting process.

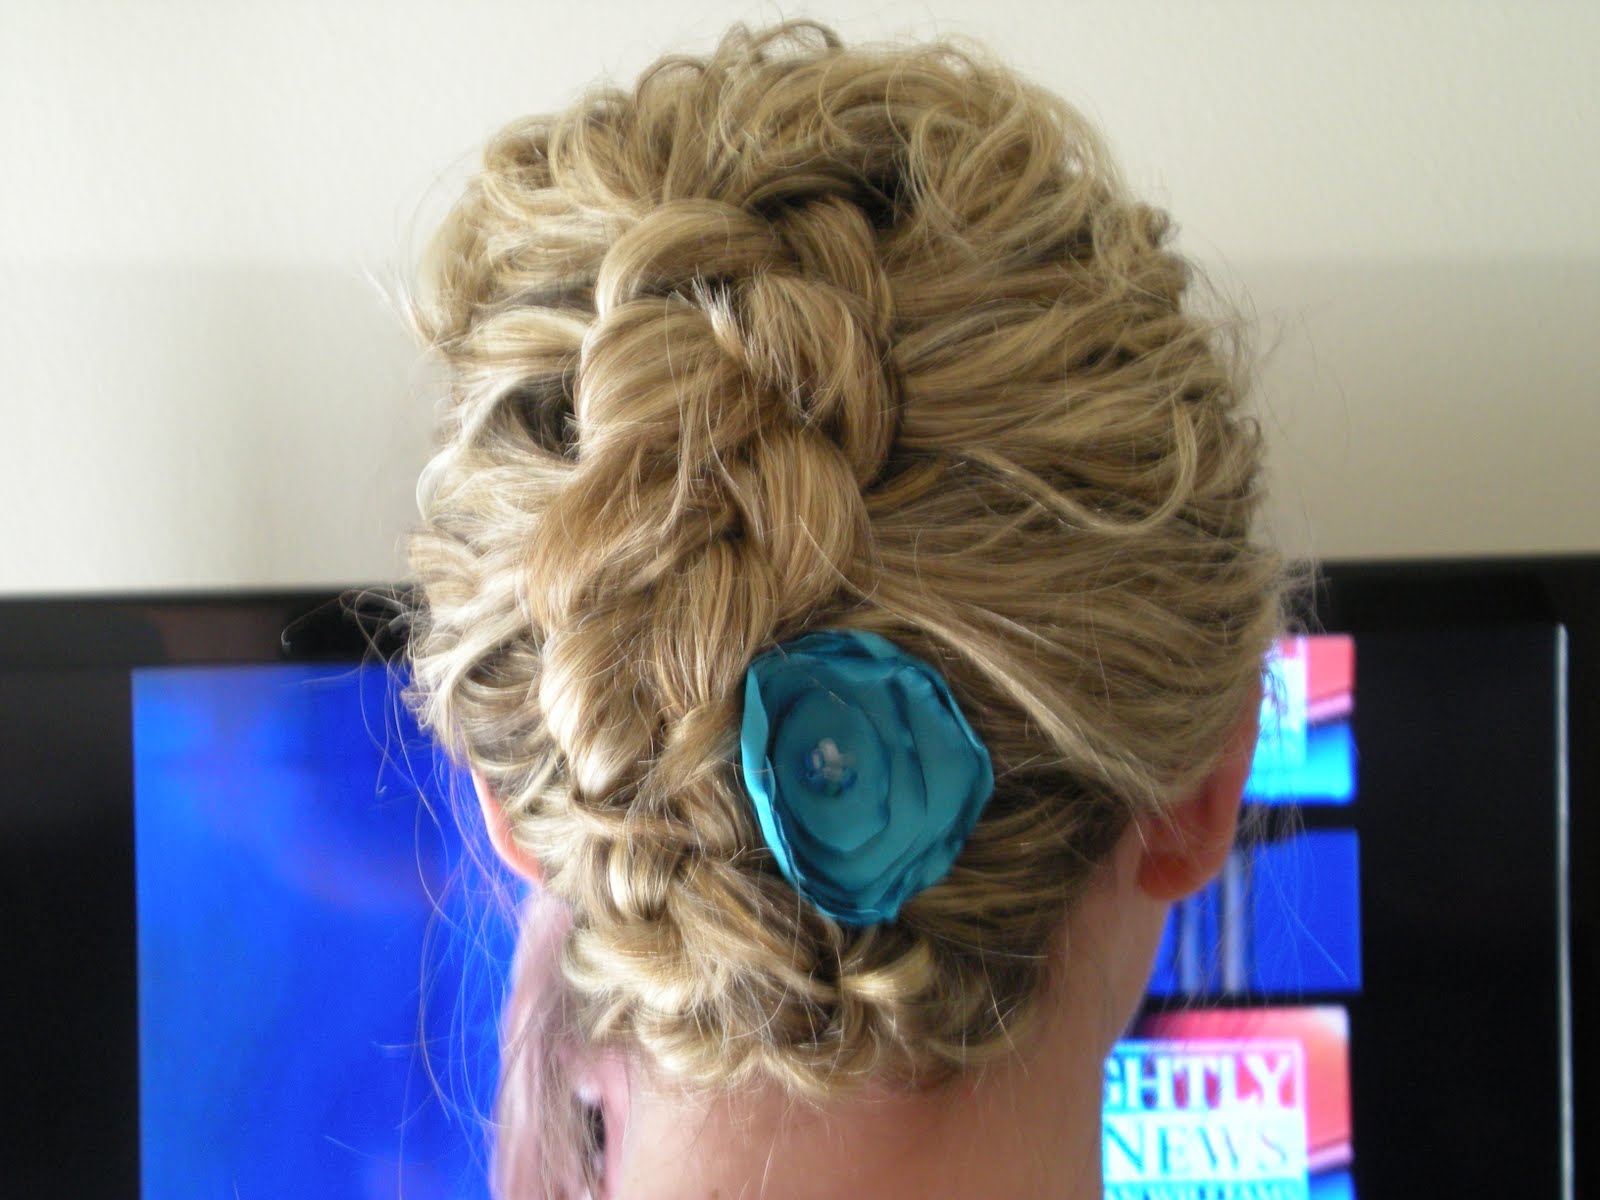
You're then going to want to take your ends and make a bun out of them just your classic ballet bun around and securing it with bobby pins. If you do it right without a care in the world it will look messy :)

Add your flower!!!
Second Hair style..

Simple pony tail..
I've had a really hard time getting a headband to stay in my head but I figured it out and am going to share my secrets with you!!..
First step.. place hair in high pony tail..
Second step.. pull hair carefully out to create volume all around especially below your pony tail so that the head band will stick/stay.
Third.. Pull on the pony tail at each side to tighten them up which will help it stay..
Lastly put your head band of choice on and enjoy!!
The trick is to keep the head band close to the hair line which will help keep it in place. I didn't use any bobby pins to hold it in place. Also having the hair below your pony tail loose will give the head band something to grab into and not slide off.
Third Hair style!!
French braid..
So I have no idea how I do this because honestly this 20 year old just learned how to french braid her hair but some how I manage to get the braid reverse from normal and its always super messy.
What you want to do is do your bump and then about an inch down towards your forehead at about where a widows peak would start and go backwards in a "v" motion or at an angle towards the ceiling this will give you the volume you want. Start your braid and braid all the way to the end. Once you are at the end place a small hair tie at the end and then tuck it up under and secure with two bobby pins or more if you need it. If you don't have a place to tuck your braid up and under you can make one if with your fingers by just stretching it out.
If you don't know how to french braid go here!!
Place your flower that is on a clip on the side or topish where ever you think it looks best :)
You could also place a head band if you don't want to use a flower on the side.

Or you could do this..

Fourth Hair Style!!

Placing your headband in without a bobby pin bump..
This is pretty easy.
Just place your head band in your hair and slide it back to where you want.
You're then going to want to pull the hair in front of the head band out. The way I do this is I stick my fingers in, place them on my scalp and then with my finger tips I pull up towards the ceiling gently you can also do this with your finger tips.
Fifth Hair Style!!
This one is probably the most controversial
To side pony or not..
I personally like side pony tails and if you don't you can do this same thing with a normal pony tail or a low one. And if you don't like those ideas you could do a fish tail braid but my hair is not long enough to do that too :(

I like my side pony tails to cover my ears so what I do is just start off with a side pony tail and then pull the sides out to cover my ears. The side that the pony tail is not on will fall out so you will have to secure this with a bobby pin. Your also going to want to pull it out to create volume, after you have done all of this your going to want to grab the hair at the bottom of the pony tail and pull to tighten the sides up. Once you've done this you're going to take a piece of hair from the bottom and wrap it around your hair tie and secure with a pony tail. Then.. add your flower!!

Totally didn't mean to do a little color clashing :)..
Sixth and Final Hair style..

So.. Do your bump ;)
Then you're going to want to put your finger parallel to your ear on your cheek.. and go straight up to separate some hair out. Braid this back and secure with a bobby pin. Then do the same thing on the other side. Once you've done all of that take your flower and put it in the center where the two braids should meet.

Sorry these last photos are so blury, photoboy aka tony decided not to have a steady hand. You could also do the braids, place your hair into a pony tail or messy bun and then add the flower to the side of your pony tail or bun :).
I hope you all enjoyed these hair styles and that I was able to give you some fun new things to do with your flowers :)
All flowers where provided by LayneBug Designs Melissa Blair off of Facebook and one was done by Princess Couture Designs..
Hope Everyone is Having a wonderful summer, I have 6 days and a final left of my summer class and then I will be making more blog posts :)